Installation support
Installation Guide
Follow the sequence in order. Choose the glass you are installing and keep its protective liner attached until all exterior fit checks and shaping are complete.
Choose your glass
Roll-Down Side Windows overview
- •Work on one roll-down window at a time.
- •Check the exterior fit and complete any needed shaping before exposing the adhesive.
- •Secure the upper section first, then raise the glass and finish beneath the window sweep.
Before you begin
- •Tint installs on the inside of the glass.
- •Any required heat shaping is completed on the outside of the glass with the liner attached.
- •Do not remove the liner until the film fits the exterior glass and all required shaping is complete.
- •The film is precut and includes a small intentional perimeter gap.
- •Work in a clean, shaded, dust-free area on cool glass.
- •Keep the heat gun moving. Excessive heat can burn, crease, or distort the film.
- •Do not use metal blades on rear defroster lines or sensitive glass.
Liner
The removable protective backing that covers the film adhesive.
Adhesive side
The side of the film that attaches to the inside of the glass after the liner is removed.
Fingers
Raised channels or folds that can appear while film is fitted to curved glass.
Window sweep
The seal at the bottom of a roll-down window.
Gather tools and prepare slip solution
Included with your tint order
Selected precut film
Optional tool kit - $19.99
Installation tools
Use the optional kit or supply equivalent tools yourself.
- • 16 oz spray bottle
- • Baby shampoo in syringe
- • Hard card squeegee
- • Soft-edge squeegee
- • Lint-free microfiber towels
- • Non-metal scraper / prep blade
You also supply scissors and absorbent protective towels - these are not included in the kit.
Roll-Down Side Windows
Additional equipment
Heat gun: Strongly recommended and usually necessary on curved glass.
Prepare slip solution
Add approximately 3–5 mL of baby shampoo to a 16 oz spray bottle. Fill with water and mix gently without creating excess foam.
The 3–5 mL is the total shampoo amount - do not add it on top of the syringe contents or assume the entire syringe is the correct dose. Use the same measured recipe for the supplied bottle, refills, or your own 16 oz spray bottle.
Need a heat gun?
Heat gun not included. It is required for front and rear windshields, and strongly recommended for curved side glass.
Identify and separate the film pieces
- 1.Your vehicle's film pieces arrive weeded - the excess film is already removed - together on one continuous backing sheet. Writing identifies the individual pieces.
- 2.Before separating anything, identify every piece and organize where it belongs so its written label stays with it.
- 3.Using your own scissors, carefully cut only through the exposed backing sheet between the pieces. Keep each piece's protective liner and identifying label attached.
- 4.Precut means each window shape is already cut. Do not cut into, trim, or reshape the precut film itself.
Check fit and complete exterior heat shaping
Fit checks and shaping happen on the outside of the glass with the liner attached. Interior protection and cleaning steps happen inside the vehicle.
- 1Identify the correct labeled piece and keep the liner attached.
- 2Clean the outside glass where the film will be fitted, plus the surrounding edges.
- 3With the window raised, place the piece on the outside glass to confirm the fit and intentional perimeter gap.
- 4If fingers appear, complete the exterior shaping procedure below before removing any liner.
- 5Let the film cool and confirm that it lies naturally against the exterior curve without creases, burns, or distortion.
Exterior heat shaping - liner attached
Keep the liner attached and place the film on the outside of the glass with the liner facing you.
- •Arrange fingers toward the top or bottom, not the sides.
- •Use controlled heat and keep the gun moving.
- •Work one finger at a time and smooth it with the hard card as the film reacts.
- •Stop when the film lies naturally against the curve.
Roll-down side-window shaping demonstration
Roll-down fit and heat-shaping reference
Precut tint installation demonstration by TrueLine Automotive
Reference demonstration: techniques and tools may vary. Follow the Stellar instructions on this page for your precut kit. Do not trim or recut the supplied pattern.
Install the film on the inside of the glass
Begin this stage only after the exterior fit and shaping are complete. The adhesive side attaches to the inside of the glass.
- 1With the window raised, spray and thoroughly clean the lower and middle inside glass, edges, and seals.
- 2Lower the window about three inches. Clean the upper inside glass and top edge, then complete a final top-to-bottom rinse and squeegee.
- 3Peel back approximately the upper third of the liner. Spray the exposed adhesive as the liner is removed.
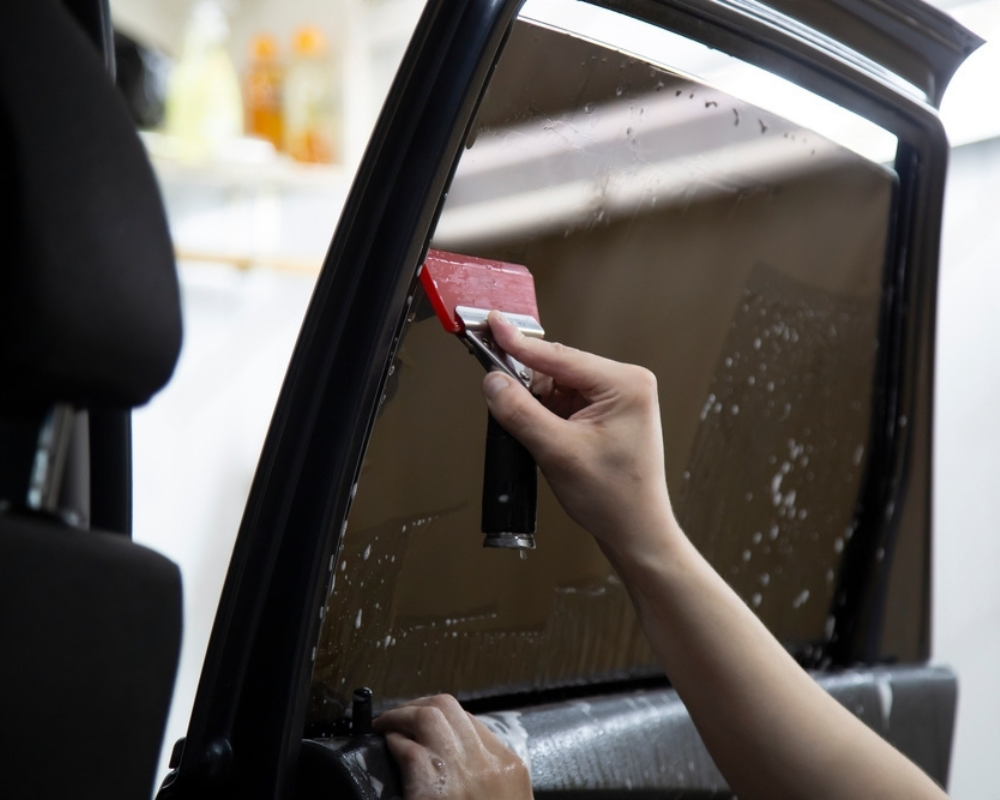
- 4Wet the inside glass. Place the exposed adhesive side against the inside of the window and align the top and sides while preserving the small perimeter gap.
- 5Wet the film surface and securely squeegee the upper and middle sections from the center outward.
- 6Slowly roll the window completely up. Remove the remaining liner while spraying the newly exposed adhesive, then carefully tuck the lower film beneath the window sweep without creasing it.
- 7Spray the film and complete firm, overlapping squeegee passes from top to bottom and from the center toward the edges. Inspect and secure every edge.
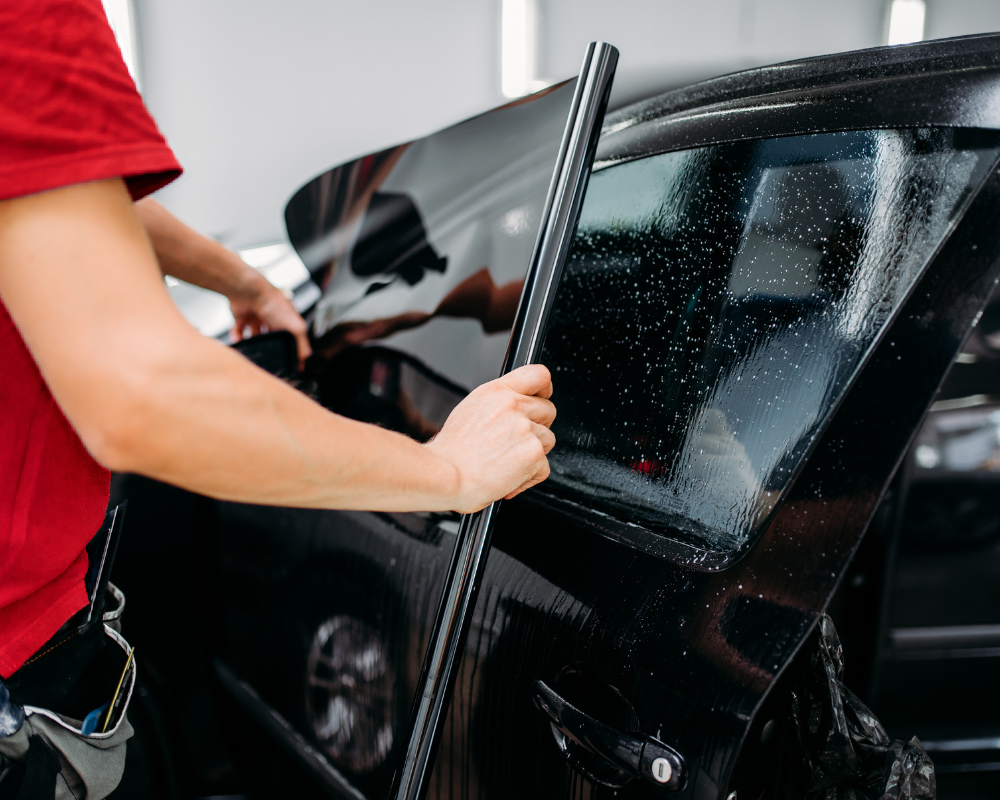
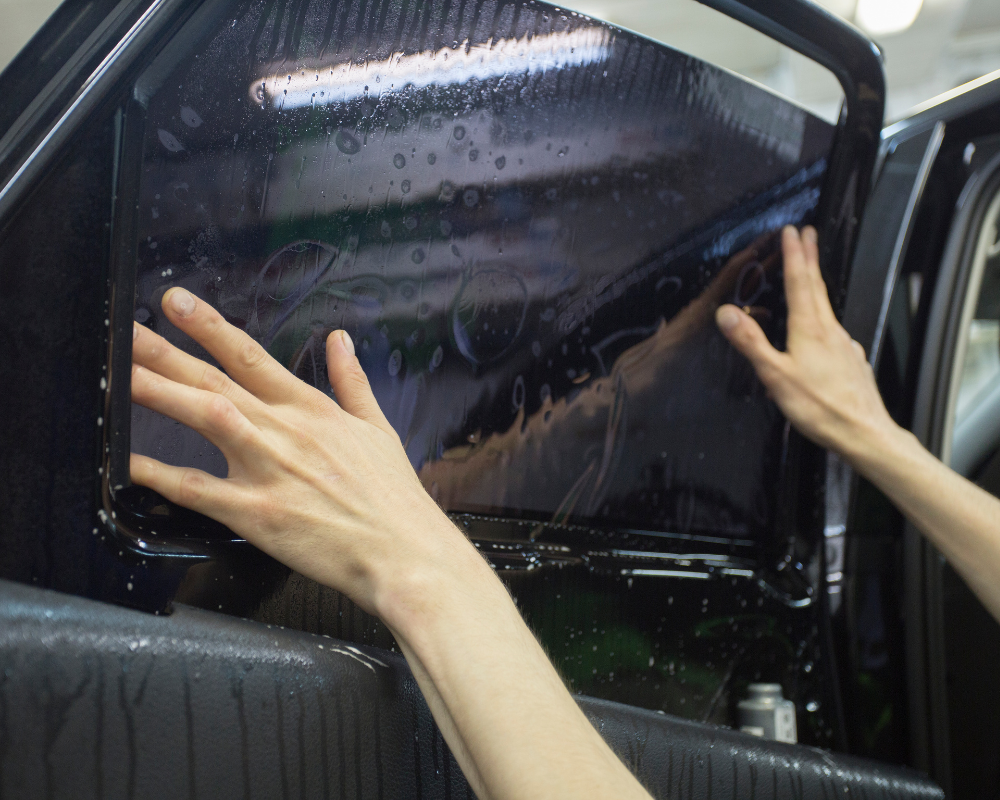
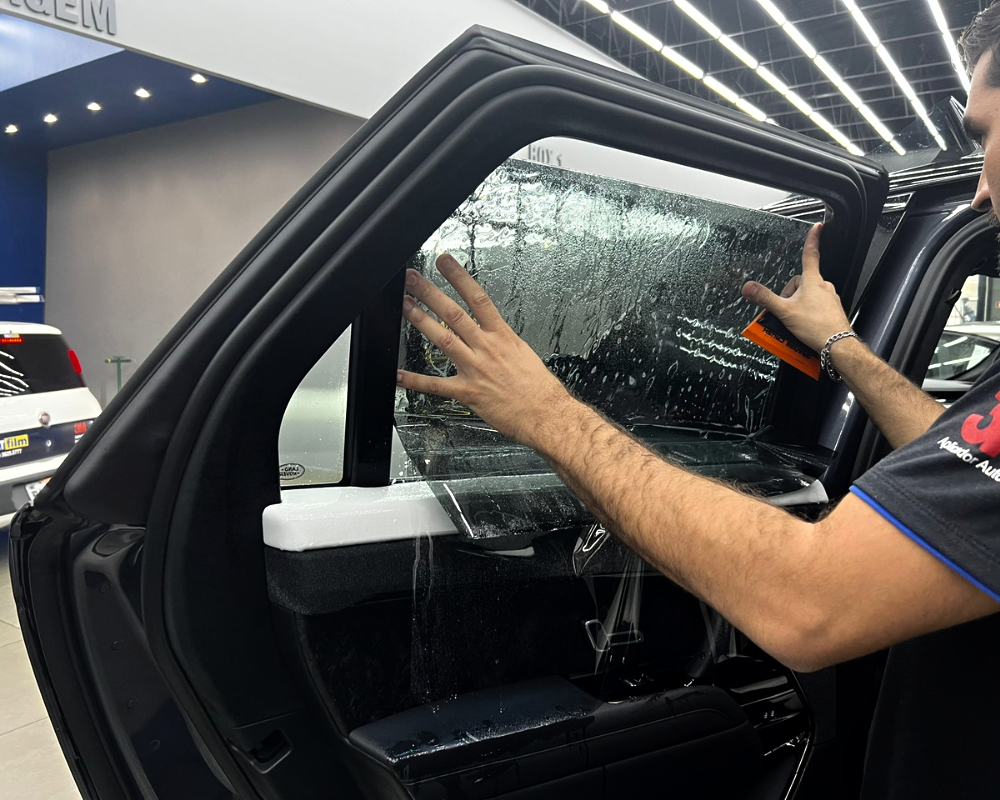
Detailed roll-down installation reference
Precut tint installation demonstration by TrueLine Automotive
Reference demonstration: techniques and tools may vary. Follow the Stellar instructions on this page for your precut kit. Do not trim or recut the supplied pattern.
Inspect and follow aftercare
First four days and ongoing care
- •Keep tinted roll-down windows up for four days.
- •Do not clean the inside of the film for four days.
- •Some haze or moisture may remain longer depending on temperature and humidity.
- •After curing, clean with a soft microfiber cloth and an ammonia-free cleaner.
- •Do not use abrasive pads, sharp tools, or harsh cleaners on installed film.
Troubleshooting, warranty, and contact
DURING EXTERIOR SHAPING
- Fingers keep coming back before liner removal.
- More exterior shaping is required. With the liner still attached, keep the film on the outside glass and continue controlled heat passes until it lies naturally. Do not force it flat.
- Fingers are running sideways.
- Before liner removal, redirect them toward the top or bottom of the exterior glass. Sideways fingers should never be shrunk in place.
- Creases, burns, grain, or optical distortion appear.
- Stop. Do not install damaged or distorted film. The affected piece may require replacement.
During interior application
- The film will not slide.
- Add more slip solution to the inside glass and the film's adhesive side before squeegeeing.
- Dust or hair is trapped beneath the film.
- Contamination cannot normally be squeegeed out. Carefully lift the affected area and remove the particle, or replace the piece.
- An edge is lifting.
- Remove the remaining moisture and secure the edge before it dries.
- How should I work near rear defroster lines?
- Never scrape or cut across defroster lines. Use non-metal tools and work parallel to the lines.
AFTER INSTALLATION & CURING
- I can see haze or small moisture pockets.
- Temporary haze and small moisture pockets can be normal during curing and may remain longer depending on temperature and humidity. They are not automatically film-integrity defects.
Lifetime film-integrity warranty
Lifetime protection against bubbling and film-integrity defects. We'll replace affected film covered by the warranty; you cover shipping. Damage caused during installation is not covered.
Need help?
Contact us by email or text. Live or one-on-one installation walkthroughs are not currently offered.